1.prometheus下载
下载地址:https://prometheus.io/download/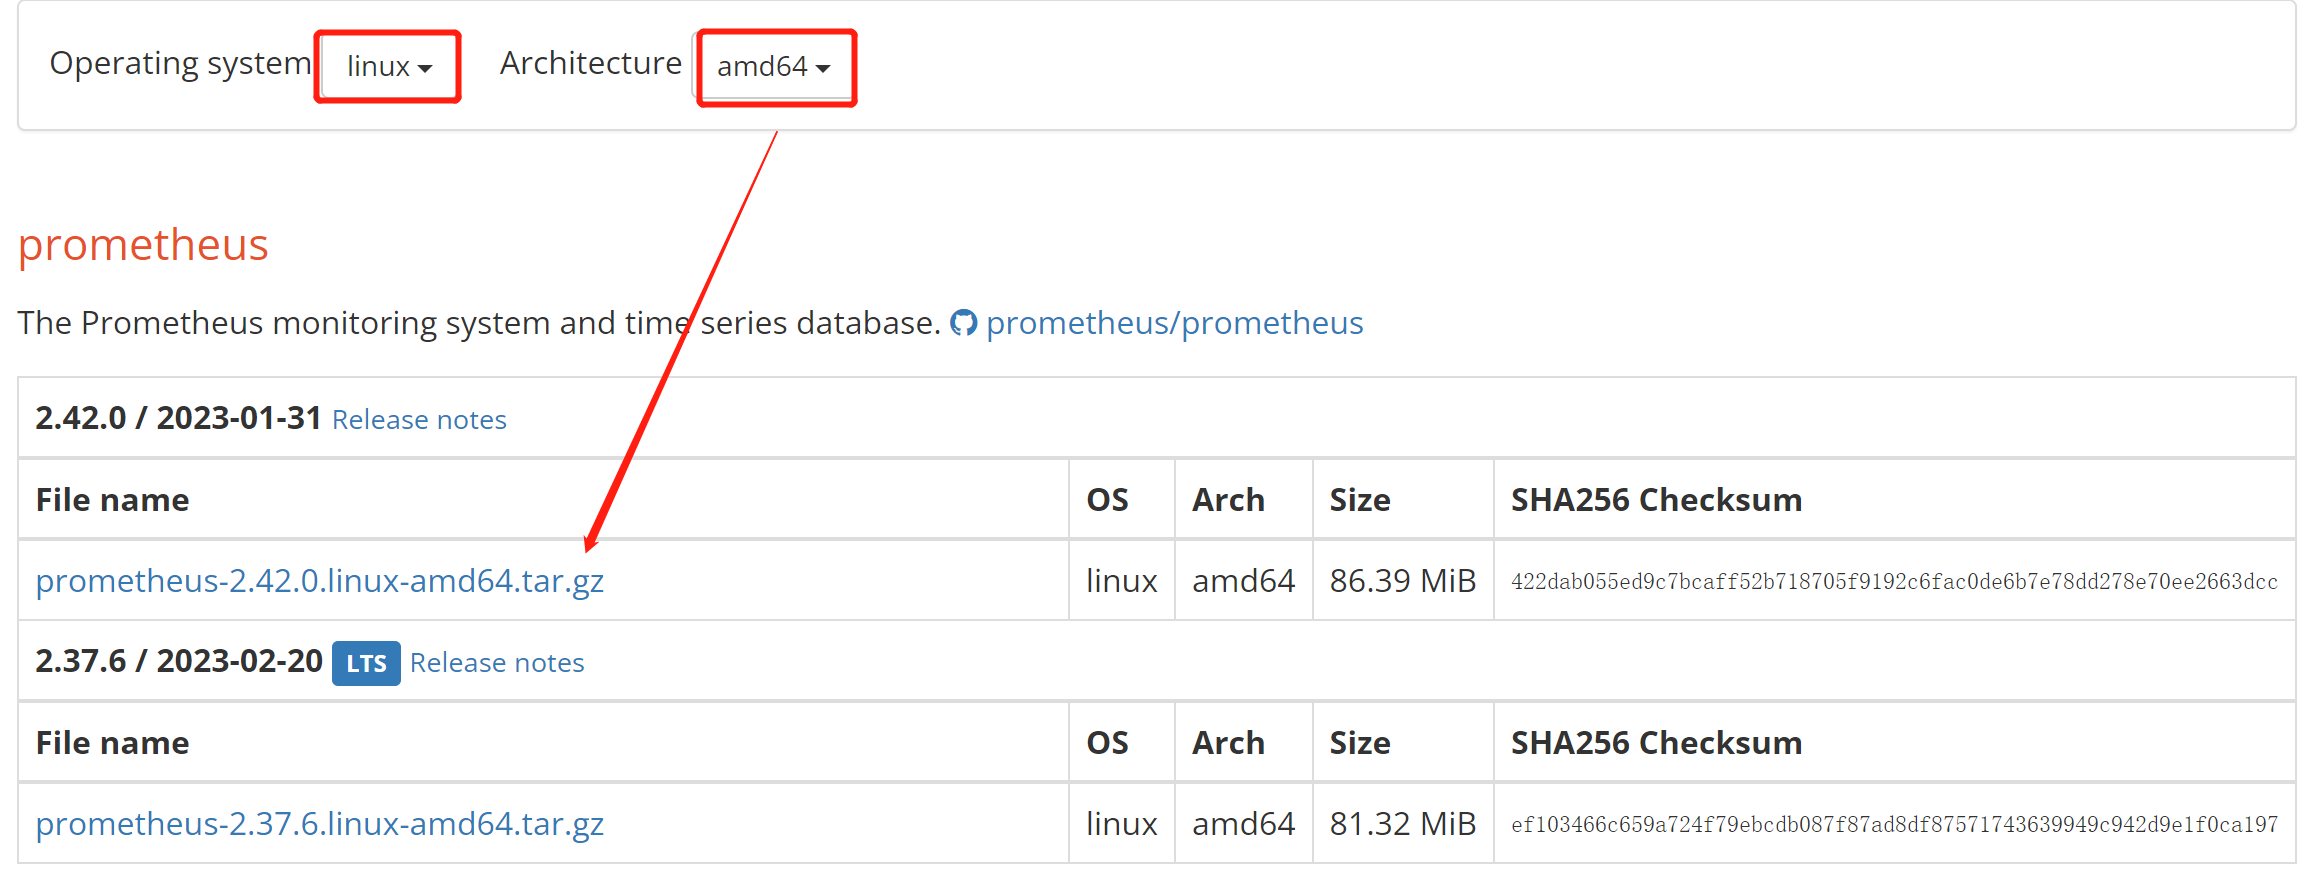
2.prometheus安装
(1).更新同步操作系统时间,避免时间误差
ntpdate edu.ntp.org.cn && hwclock -w(2).新建目录
mkdir /opt/jiankong/jiankongSoft -p(3).上传压缩包 并解压
tar -zxvf prometheus-2.42.0.linux-amd64.tar.gz -C /opt/jiankong(4). 重命名prometheus文件名
cd /opt/jiankong
mv prometheus-2.42.0.linux-amd64 prometheus-2.42.0
3.prometheus启动
(1).前台启动服务进行测试
cd /opt/jiankong/prometheus-2.42.0
./prometheus --config.file="prometheus.yml"
(1.1).(备用)如需更换启动端口添加web.listen-address参数
./prometheus --config.file="prometheus.yml" --web.listen-address="0.0.0.0:9091" 服务启动默认占用9090端口(本章使用9091端口)
(2).前台测试没有问题后,使用后台启动方式
nohup ./prometheus --config.file="prometheus.yml" --web.listen-address="0.0.0.0:9091" > ./prometheus.log 2>&1 &(3).需要停到服务时,kill掉即可
4.prometheus使用
通过浏览器访问http://服务器IP:9091就可以访问到prometheus的主界面(默认时9090,此处是9091端口)
192.168.134.143:9091项目启动后会默认监控了本机,点Status --》点Targets --》可以看到只监控了本机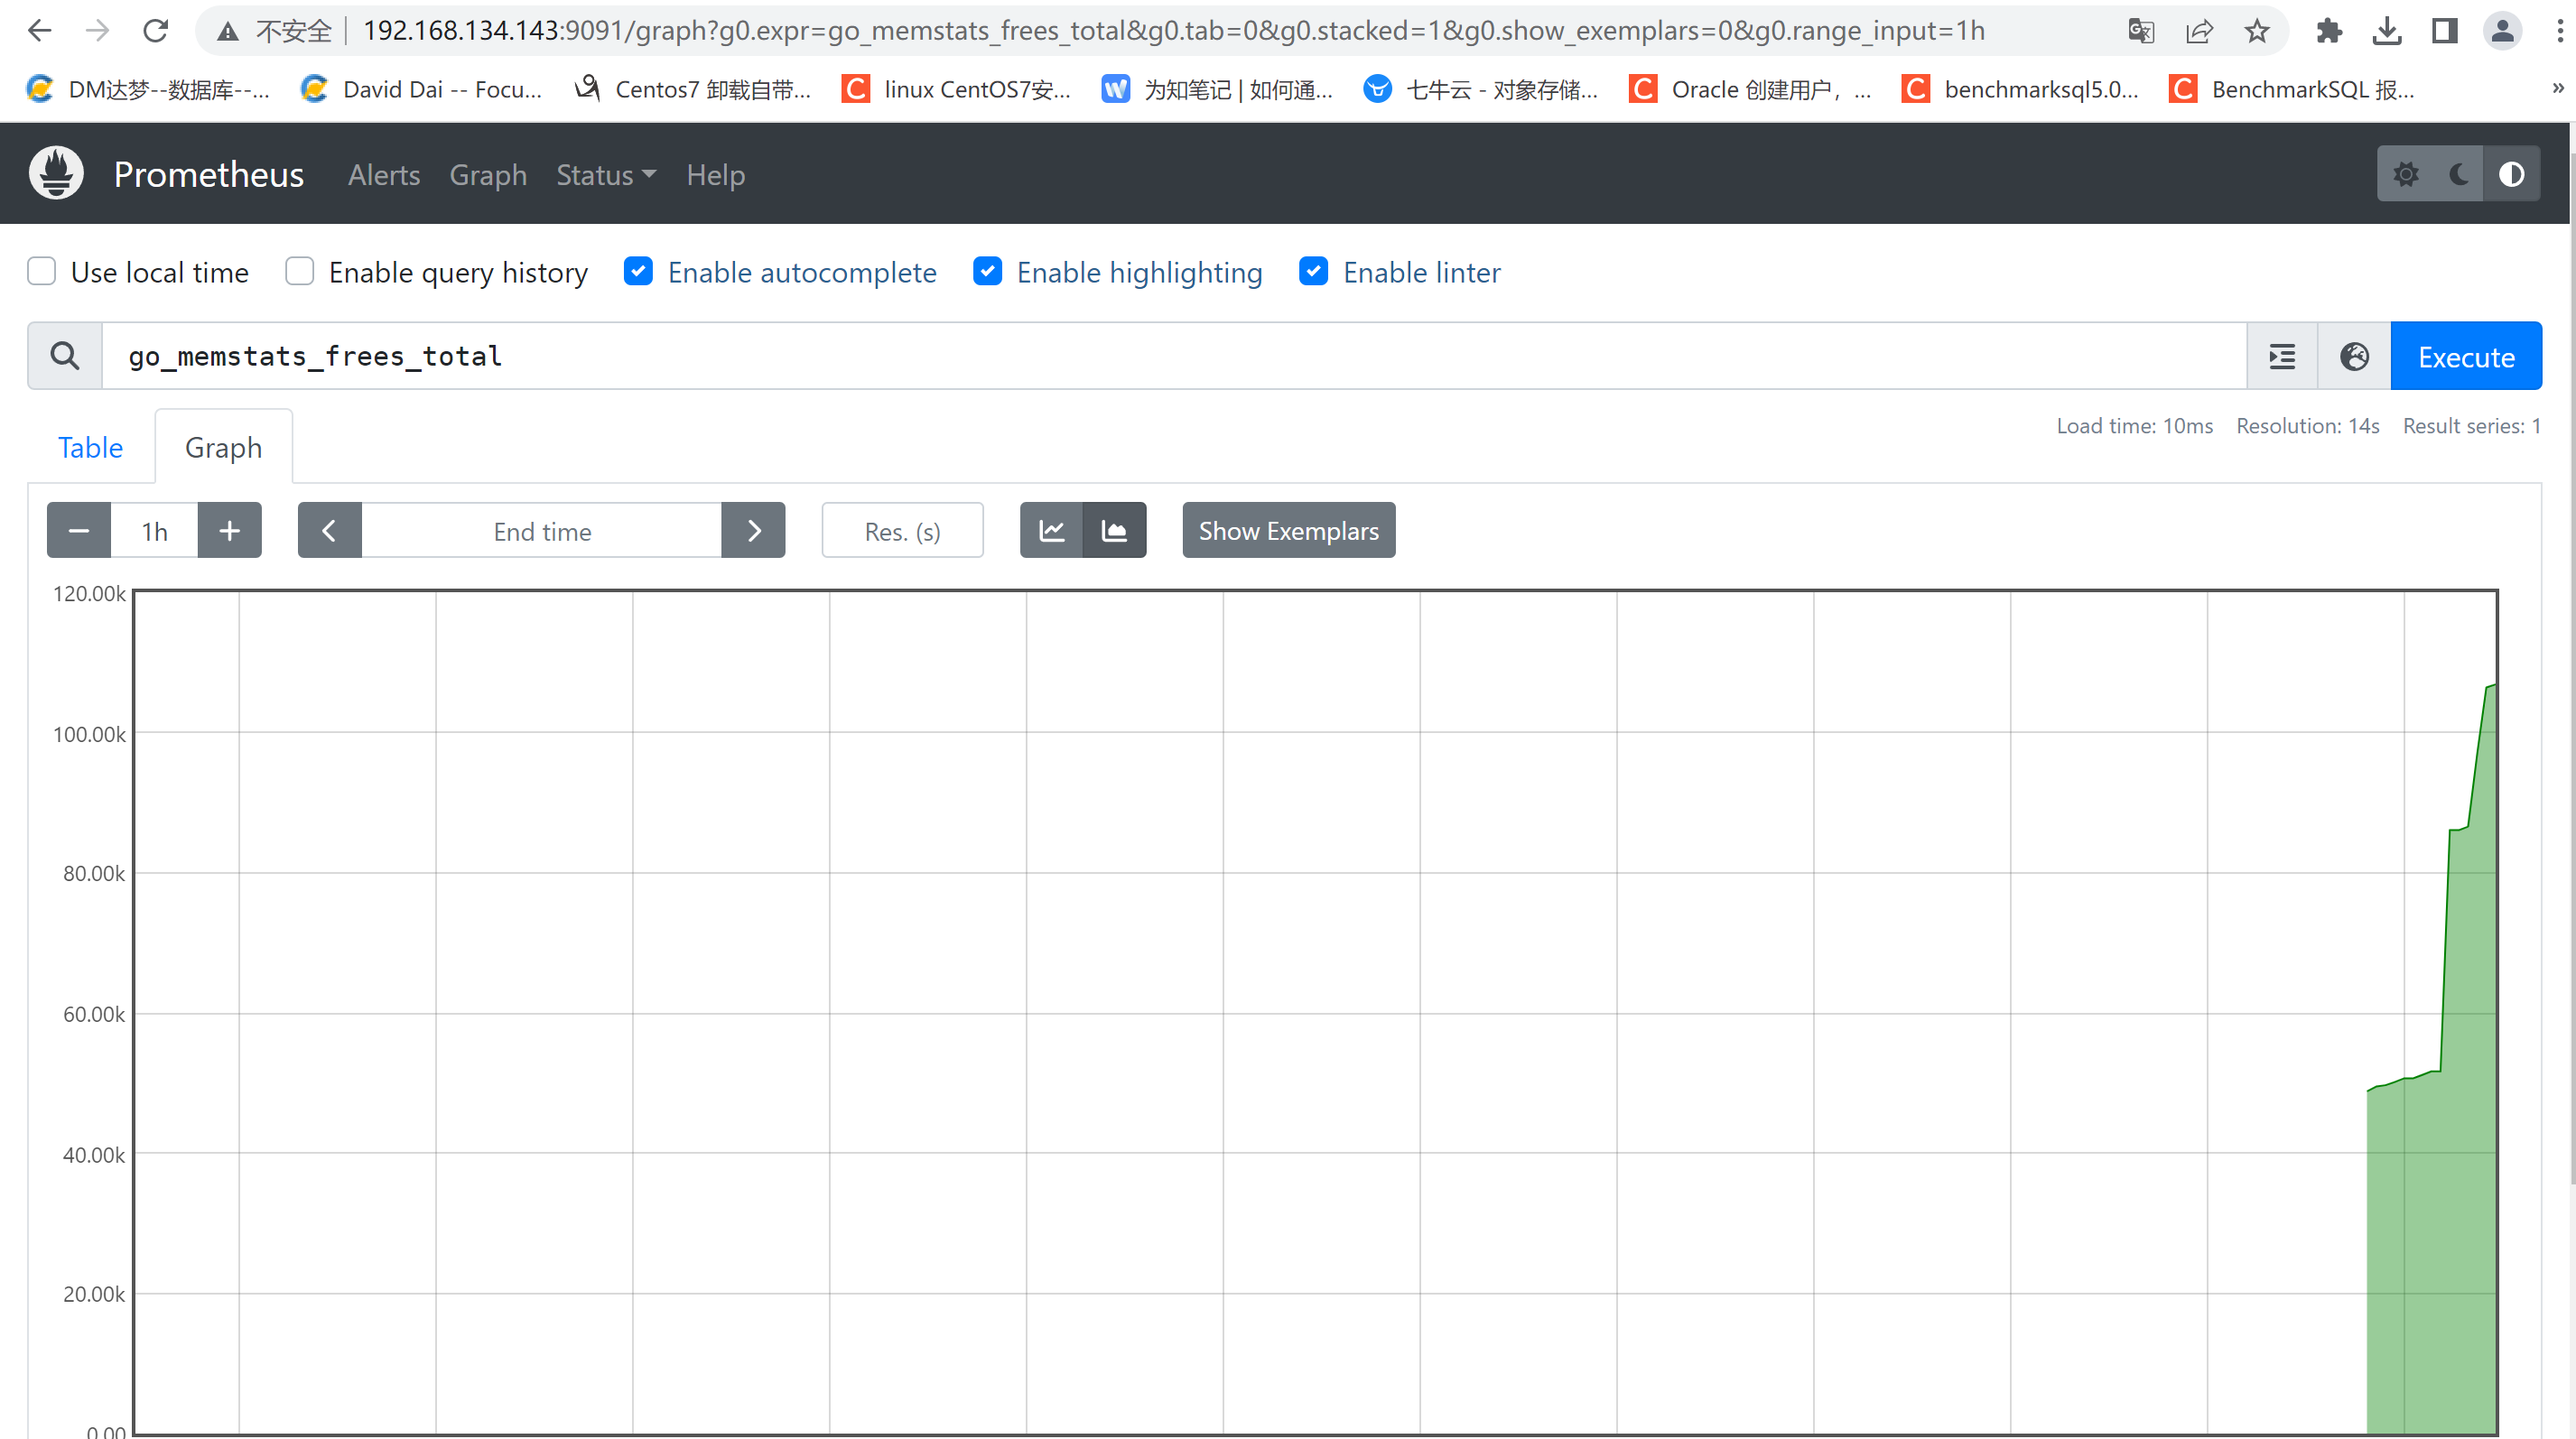
采集的信息可以通过http://服务器IP:9091/metrics可以查看到监控的数据 (prometheus本身也会采集本机的信息)
http://192.168.134.143:9091/metrics
3.Grafana的安装
(1).Grafanna下载
下载地址:https://grafana.com/grafana/download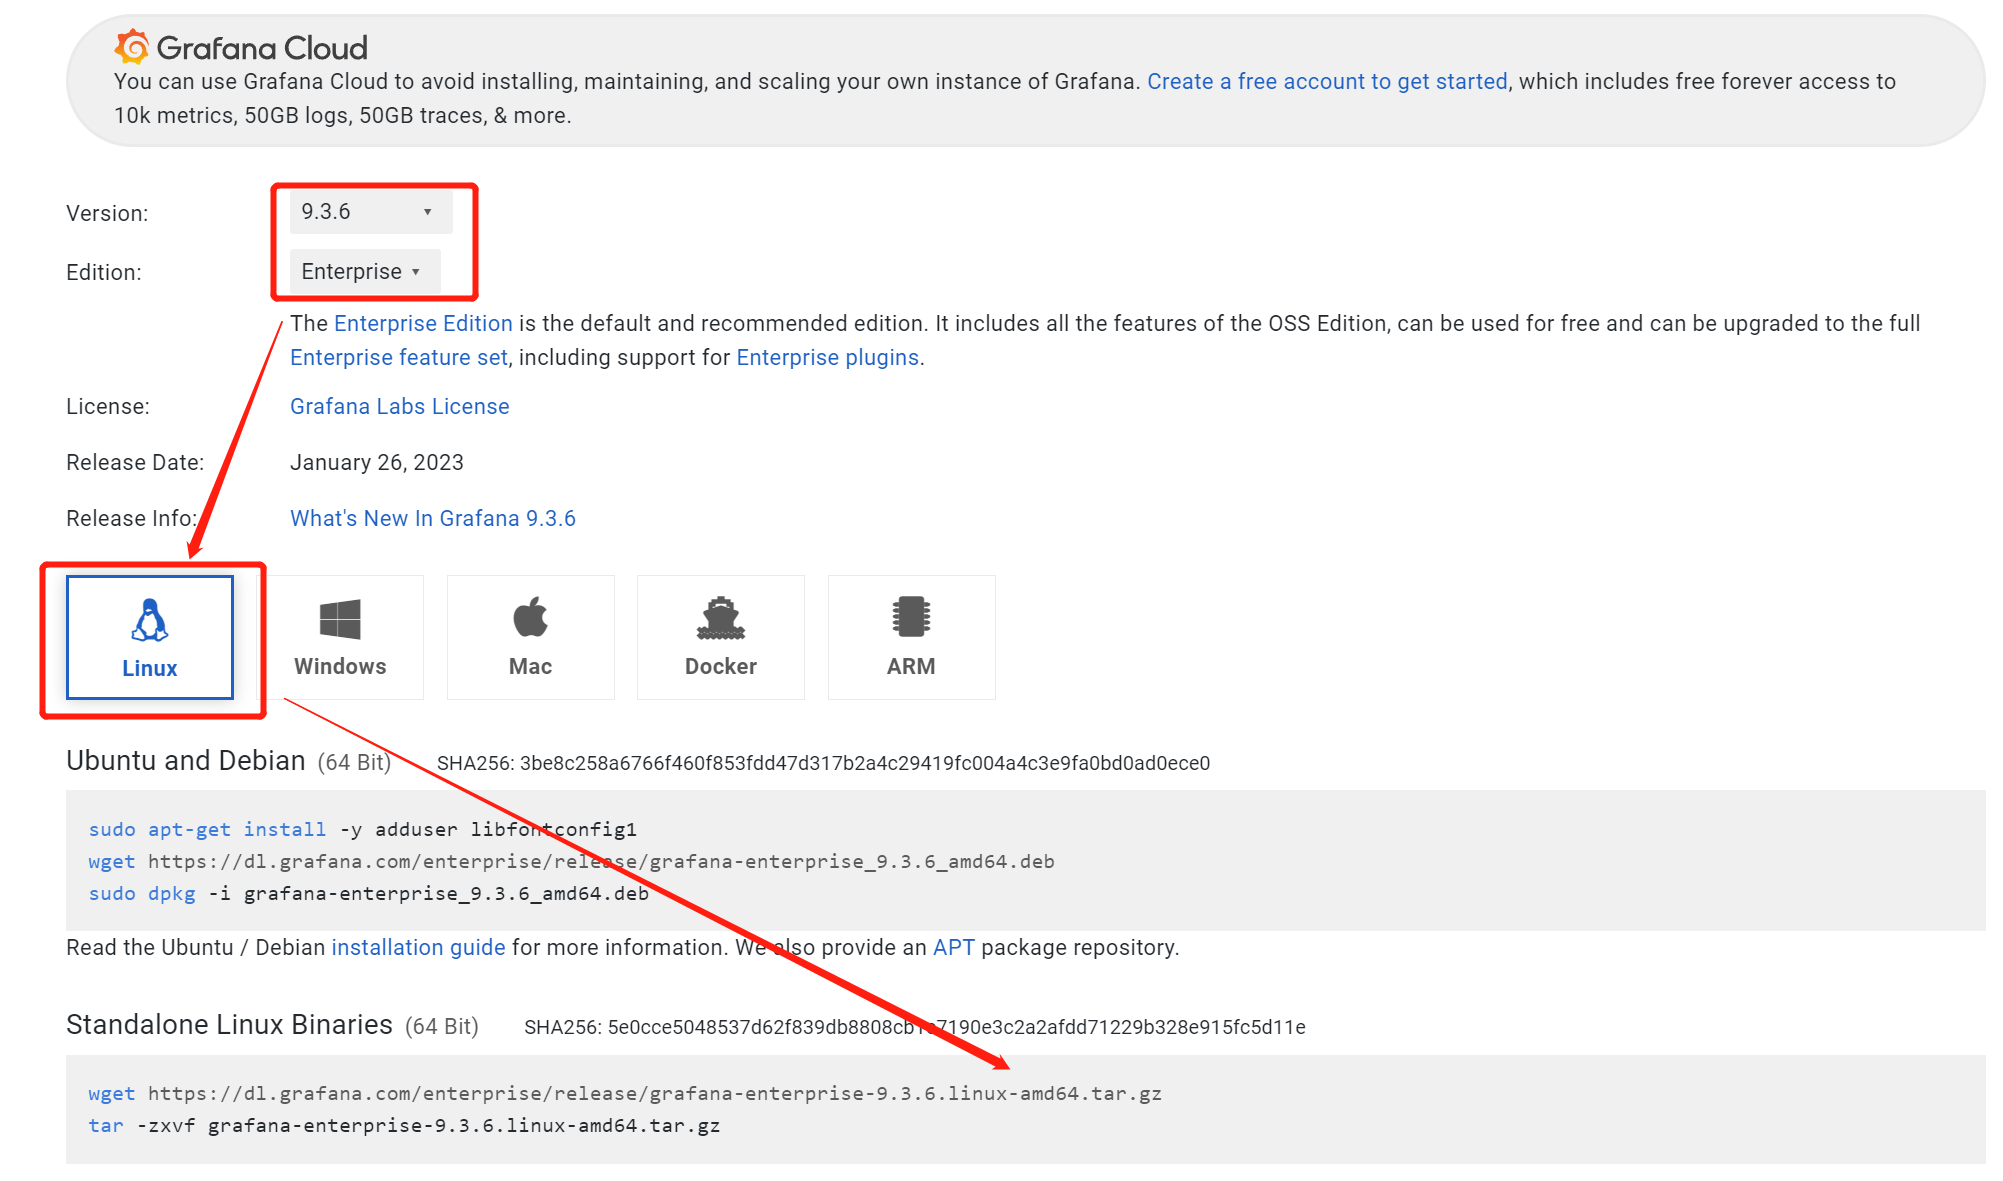
(2).上传压缩包 并解压
tar -zxvf grafana-enterprise-9.3.6.linux-amd64.tar.gz -C /opt/jiankong(3).Grafanna启动
cd /opt/jiankong/grafana-9.3.6/
nohup ./bin/grafana-server > ./grafana.log 2>&1 &(4).通过浏览器访问http://IP:3000 ,默认用户名和密码:admin
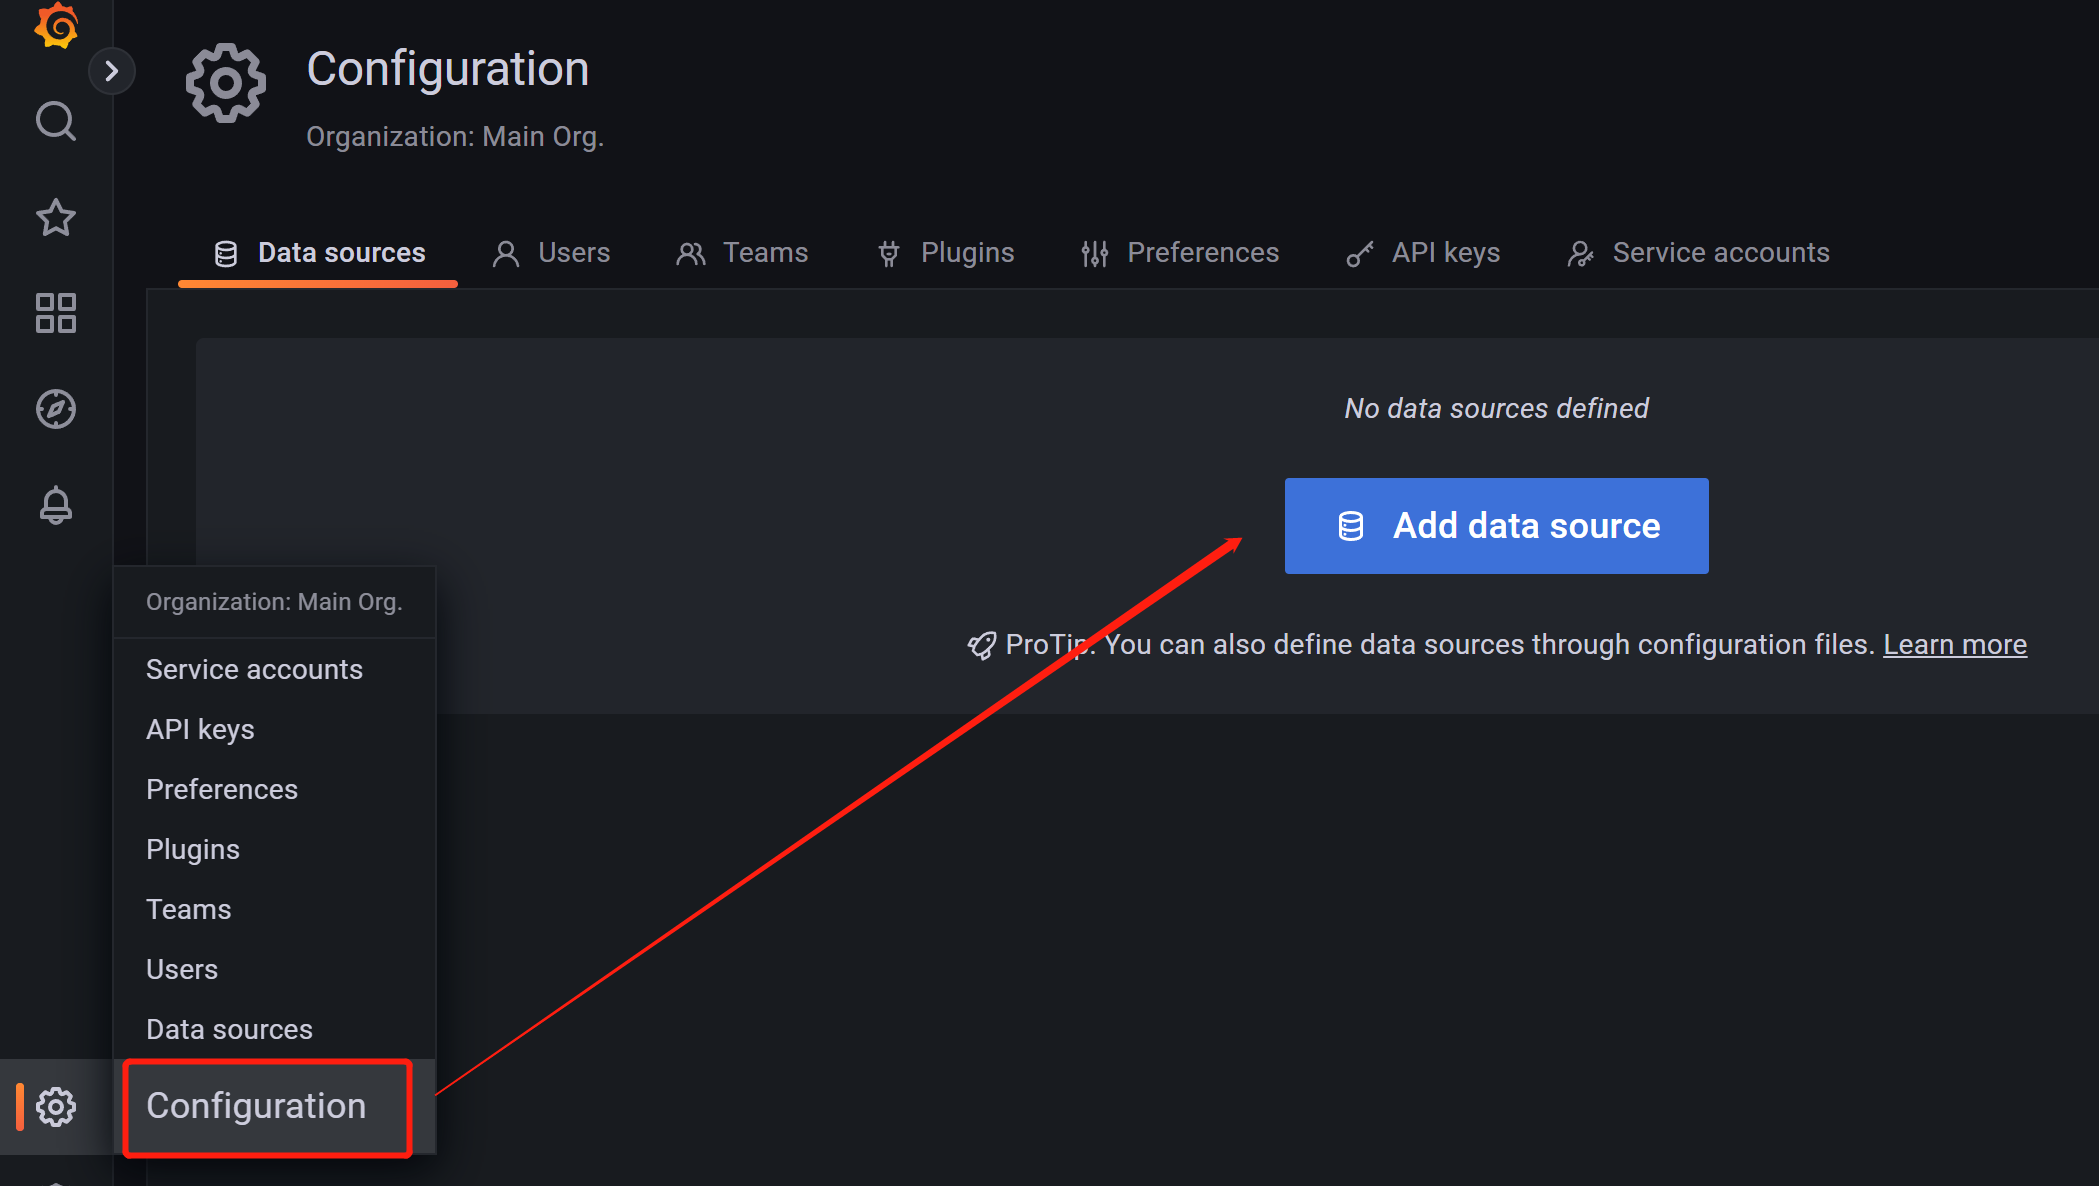
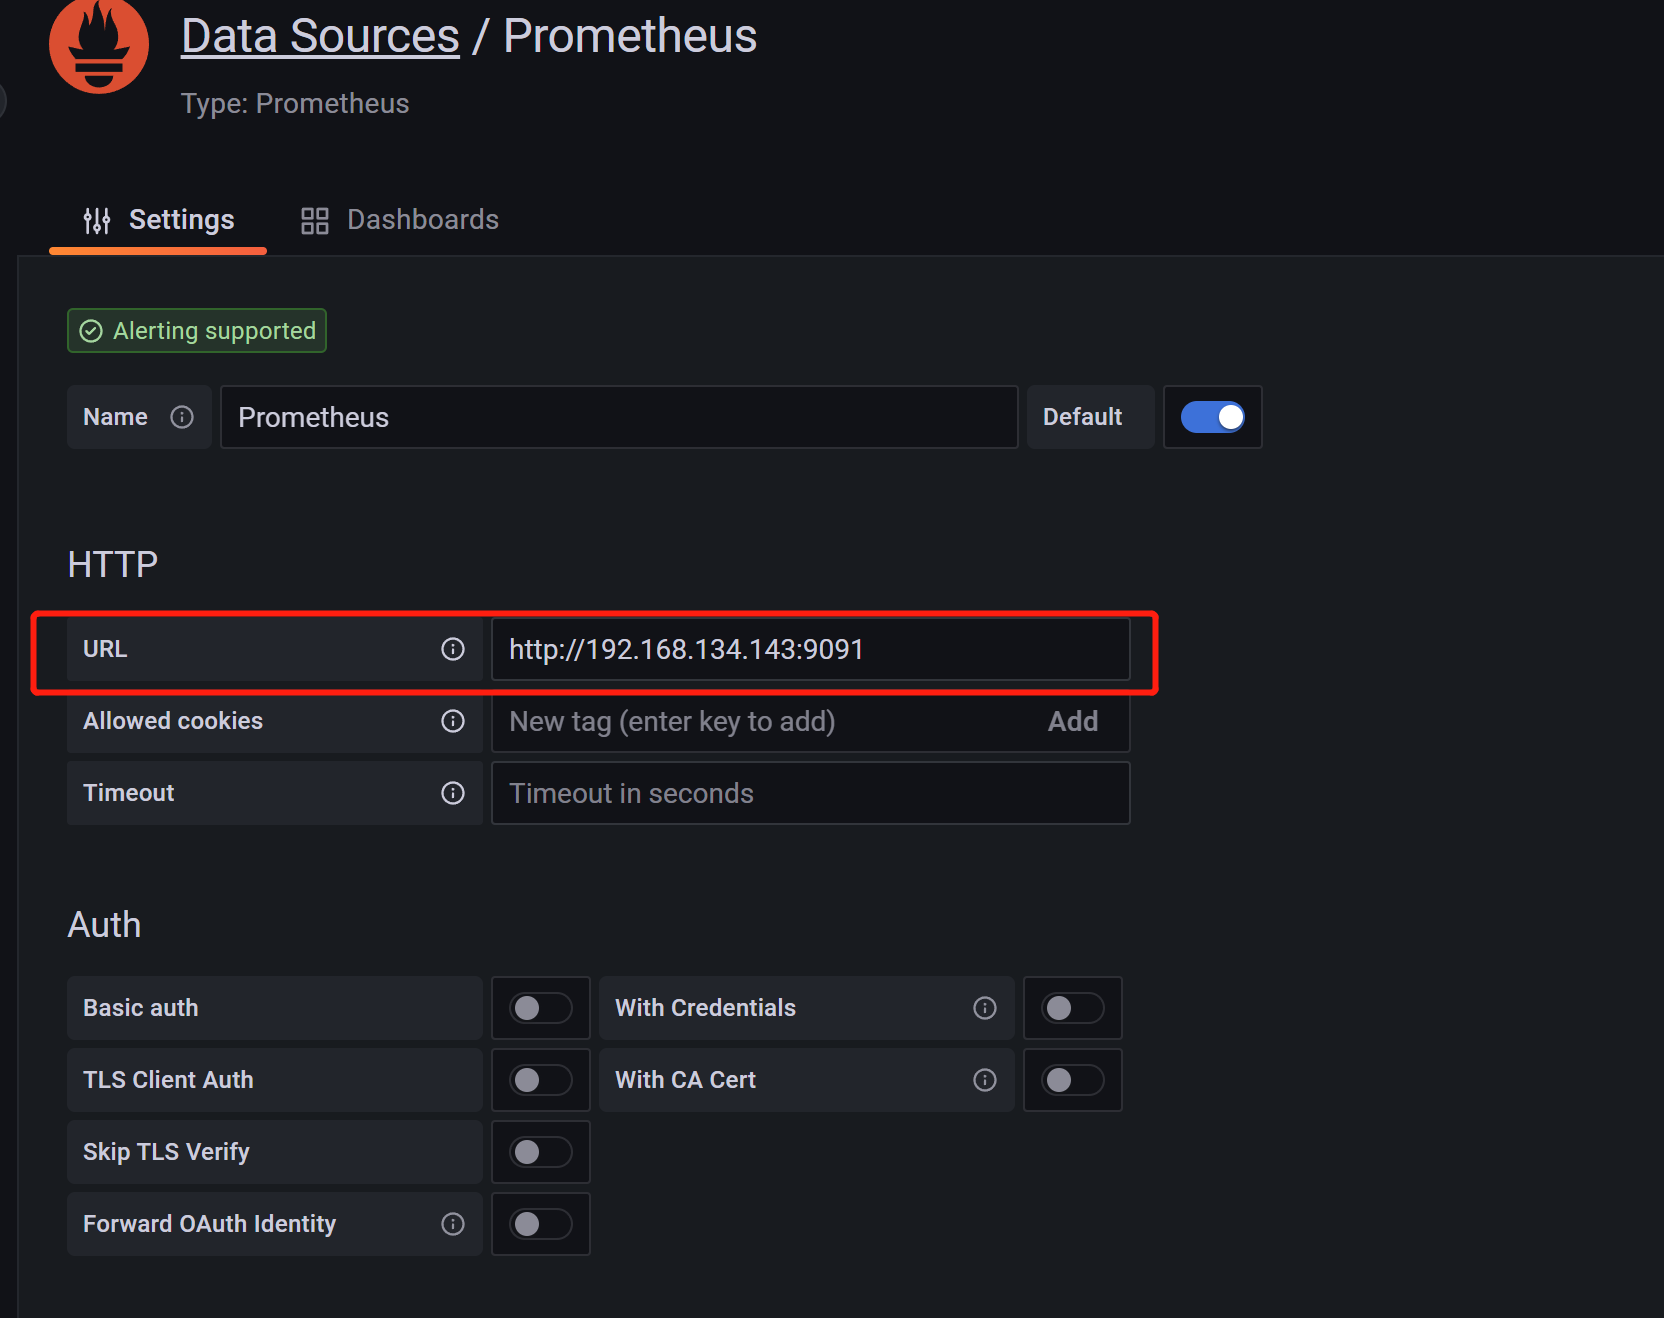
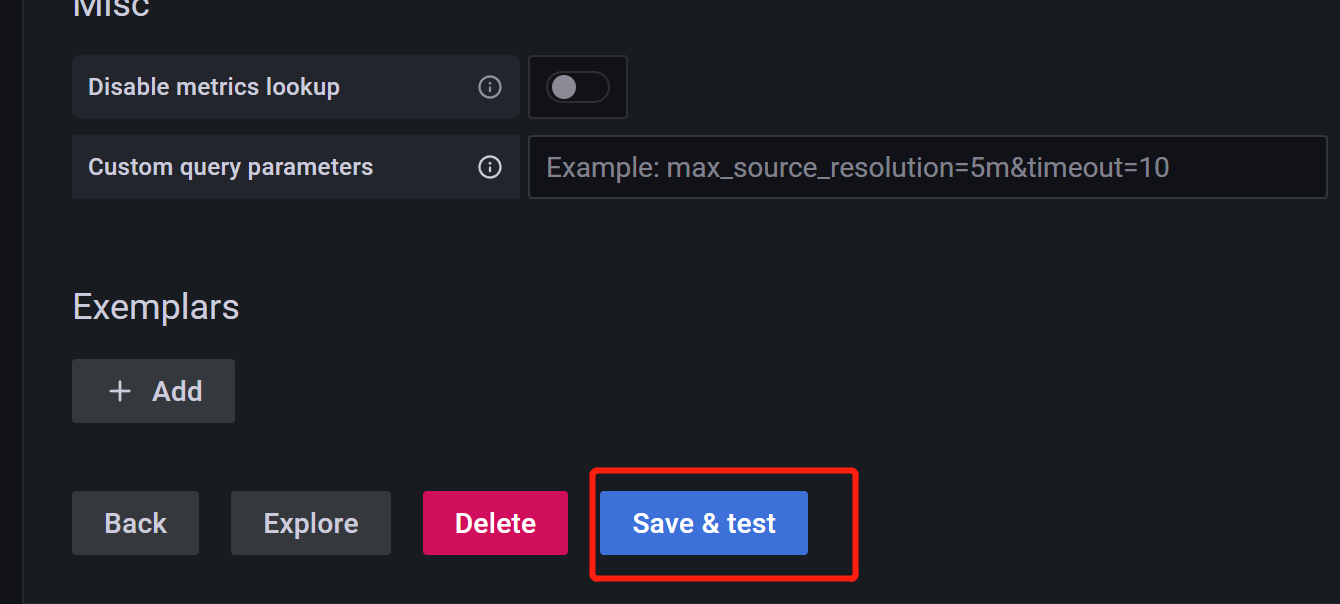
添加完prometheus的ip后进行连接行测试,测试OK后点击BACK即可看到我们已经成功添加了数据源(其它开关这里不做赘述,感兴趣的基佬可以自行了解)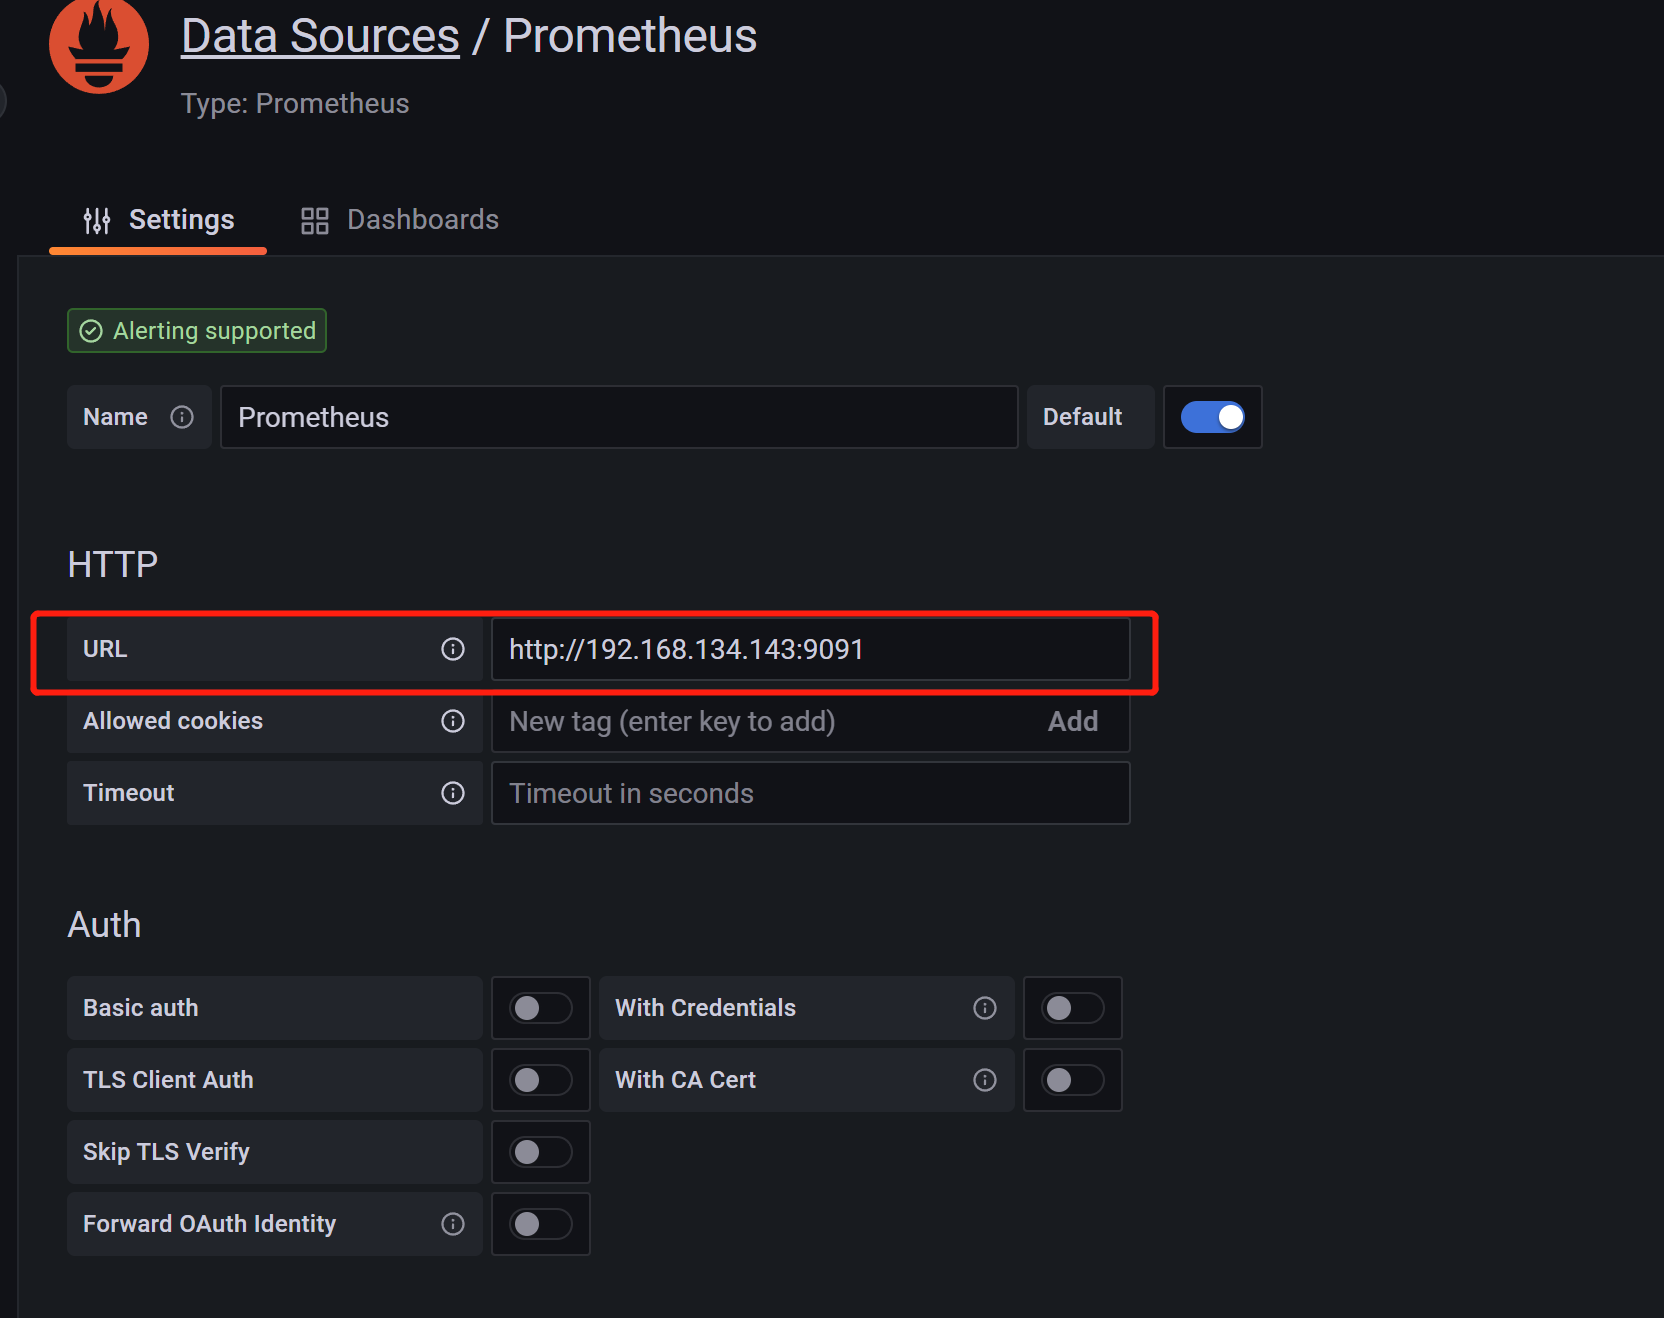




评论已关闭